Ställ in Gmail i Thunderbird - Så här gör du
I detta praktiska tips förklarar vi hur du ställer in ditt Gmail-konto i den kostnadsfria e-postklienten Thunderbird. Du kan använda kontot antingen via IMAP- eller POP3-protokollet.
Förberedelse: Aktivera IMAP i Gmail
Om du vill använda IMAP för ditt Gmail-konto i Thunderbird kanske du måste aktivera protokollet i ditt Gmail-konto först:
- Öppna Gmail i din webbläsare.
- Klicka på kugghjulsikonen längst upp till höger och välj sedan Inställningar.
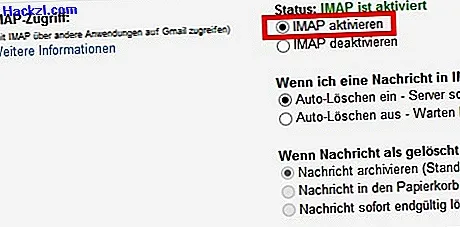
- Klicka på "Vidarebefordran och POP / IMAP". Välj sedan "Aktivera IMAP" och bekräfta med knappen "Spara ändringar".
Ställ in ett Gmail-konto i Thunderbird
Oavsett om du vill använda IMAP- eller POP3-protokollet: installationen liknar i båda fallen:
- I menyfältet Thunderbird klickar du på "Arkiv" → "Nytt" → "Befintligt konto ..." för att starta kontoguiden. Du kanske måste visa menyfältet genom att högerklicka på huvudverktygsfältet.
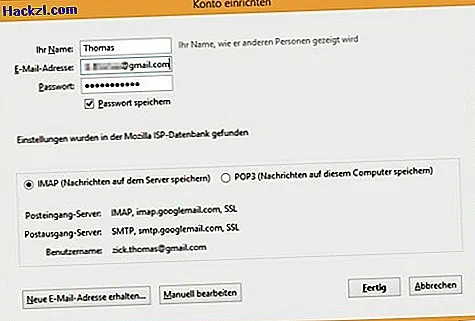
- Ange nu ditt namn, din Gmail-adress och ditt lösenord. Klicka sedan på "Nästa". Thunderbird söker sedan automatiskt efter korrekta inställningar i Mozilla ISP-databas.
- Om du vill använda IMAP-protokollet väljer du "IMAP", för POP3-protokollet väljer du "POP3". Klicka sedan på "Klar".
- Bekräfta säkerhetsundantagsregeln för att slutföra inställningen av Gmail-kontot.